


Happy Friday everyone!! --I'm always changing things around in my house and, this time I decided to change my sons room from a little baby nursery into more of a play room. I bought some cubbies from Lowe's that I will be using to store all his toys... I found these awesome letters and I decided to do something similar for my sons room. -- I love cardboard letters because you can do endless things with them. And don't get me started on mod podge... I use it for a lot of projects and if you are wanting to start on the DIY road I recommend you get some, you will use it... I promise.
So, here is how I got plain cardboard letters to look like this...

Supplies needed:
cardboard or wood letters (got mine from Hobby Lobby)
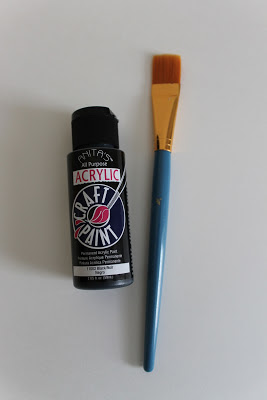
Acrylic paint (any color--I chose black)
paint brush and/or sponge brush
scrapbook paper
scissors
fine sand paper
mod podge (gloss or matte)
You'll start by painting your letters with the acrylic paint. I chose to paint the whole letter just to get an even color when i glued the paper.


After your paint is dry, take your letters and trace the shape on the scrapbook paper & cut

Apply the mod podge on the letter to glue the paper using a sponge brush

It should look something like this

Sand the edges, to get everything nice and smooth...I also distressed the edges to give it a more industrial look

Seal it with a coat or two of mod podge

I used damage free strips to put them up on the wall


What are some of your favorite projects using mod podge?


Thanks very much for posting, this was very informative, esp. the part about the acrylic paint. I'm going to pin this!
ReplyDeleteFound this through Pinterest. It's super cute! Thanks for the tutorial.
ReplyDelete- April
mylifeasapril.com