My Sticky Gadget

Tuesday, March 25, 2014

DIY Yarn Rosette Wreath


Since the weather has been really nice here in the good 'ol south, I've been doing a lot more crafts. I think being able to get out and feel the warm sun brightens up my spirit and makes me be more productive, I'm probably not alone. Since we are officially into the spring season, I decided to make a wreath for my own door. I went with a bright fuchsia for the felt rosettes and grassy green for my monogram letter, I felt like those two colors pared together with a black and white wreath ring would scream-- HELLO SPRING!!!
Scroll on down to see how I made this wreath, and YOU can make it too!!!
 
As I started wrapping the wreath ring I realized I forgot to take pictures, but you get the idea so far right?
 
    
Start with a plain wreath ring, tie a knot with the yarn to start your wrapping. Continue wrapping your wreath with white and black yarn 'till the whole wreath is covered. 

 
 I realized when I got to the end that I had a wider section of white yarn but I wasn't worried about it because I knew the rosettes would cover it. Don't sweat if this happens to you. It's an easy fix.
 I used the same technique for making the rosettes as I did in my DIY rosette wreath tutorial but instead of cutting a circle out of the felt, I cut an uneven rectangle to give the effect of flower petals throughout the rosettes. The bigger you cut your felt the larger the flower will be. I made a total of 14 rosettes for this wreath.
As for the leaves, cut a small piece of felt, fold over, and cut a curved line voila! You have a cute leaf.  
 I gave the monogram letter 3 coats of paint in the color lily pad green.
 

 Arrange the rosettes, and hot glue everything together.
Happy Spring everyone!! 

Tuesday, March 18, 2014

Thank you + Spring Wreath GIVEAWAY!

  
 Trees are blooming, grass is sprouting, and warm sweet air is flowing through Georgia! What better way to welcome the spring season than with a giveaway that will make an ordinary front door look ready for spring. 
Before I go on, I want to take a second to thank all of you for the sweet support in reading my blog, following me on Facebook, Instagram and sending sweet encouraging comments and emails. I love sharing recipes, DIY projects, and everyday life with you. Knowing I can help someone save money, make a delicious dish, or being an encouragement is very rewarding. 
So, THANK YOU from the bottom of my heart! 


Follow the easy steps below to enter this giveaway!!! 
Ends March 25
Lucky winner will receive this grapevine wreath with crisp green bushes, a chic burlap bow, and hand painted monogram letter of your last name to top it off.
Made with love by yours truly.
  a Rafflecopter giveaway


 photo PicMonkeybannerCollage_zps370c8a73.jpg

Pin It

Friday, March 14, 2014

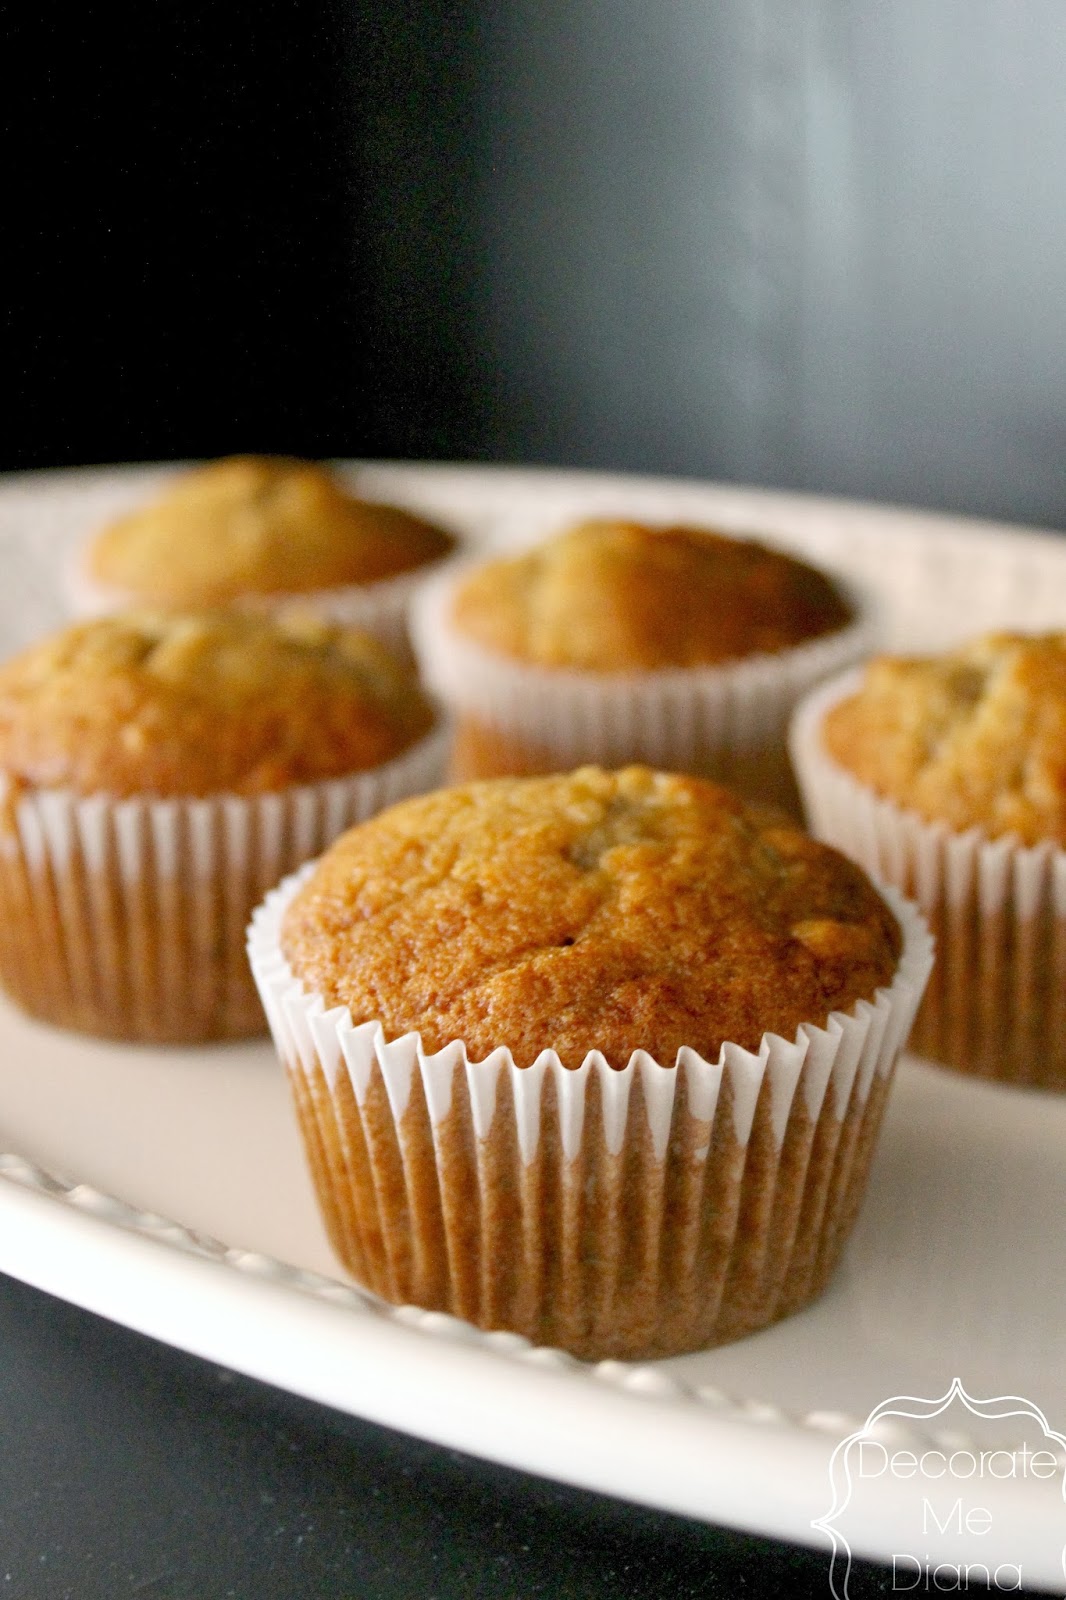
Banana Muffins


Bananas tend to get brown really fast, as in one day they are perfectly yellow and the next day they are brown and ripe. I had 3 bananas that were really ripe and I was about to toss them out, when I thought I could make banana bread or muffins with them. I found an awesome recipe that requires ingredients you probably already have in your pantry and one bowl to mix everything in. Yes, you read correctly, you only need one bowl! No extra dishes to clean. Not to mention the muffins turn out very moist and soft. 

Banana Muffins

3 ripe bananas 
1/3 cup melted butter
1 cup sugar
1 egg, beaten
1 tsp. vanilla 
1 tsp baking soda
pinch of salt
1 1/2 cups all-purpose flour 


Preheat oven to 350 F. In a large bowl smash bananas and mix in melted butter. Add sugar, egg and vanilla and mix. Sprinkle baking soda and salt over the mixture and mix well.  Add the flour and mix everything until smooth. Line a muffin pan with liners and spoon mixture half way into the cups. Bake for 20 minutes or until muffin tops are a light brown color. Enjoy! 

Recipe from Simply Recipes


 photo PicMonkeybannerCollage_zps370c8a73.jpg

Pin It

Wednesday, March 5, 2014

Coconut Chia Rice Pudding


Happy hump day! A few months ago my mom introduced me to these tiny little things called Chia seeds. They are these small, dry, white and black seeds that are packed with a bunch of goodies that are very good for you such as, omega-3 fatty acids, protein, fiber, antioxidants, and calcium. As I mentioned, they are dry but when these little things get wet a gel forms on the outer part of the seed making them slippery. I've added chia seeds to smoothies, granola bars, even cookies to help give me a boost of energy. 
Today, I want to share with you another sweet recipe, but this time using chia seeds. Coconut chia rice pudding! It's a sweet, comforting dessert that is perfect to have any time of year.

Coconut Chia Rice Pudding

1 cup of short grain rice (sushi rice)
1/2 cup of whole milk
4 cups (2 cans) of coconut milk
1/2 cup of white sugar (add more or less if desired)
1/4 cup of chia seeds

Place rice, whole milk, coconut milk, and sugar in a heavy pot over high heat. Bring to a boil, let boil for 1 minute, turn down heat to low and cover. Stir frequently. Cook on low for 25 minutes, until it's nice and creamy and the rice is soft. Let cool for 5 minutes, then stir in the chia seeds.
Serve warm or cold. 


 photo PicMonkeybannerCollage_zps370c8a73.jpg

Pin It